> ## Documentation Index
> Fetch the complete documentation index at: https://docs.craftlands.host/llms.txt
> Use this file to discover all available pages before exploring further.
# Install and Set Up Simple Voice Chat
> Install, configure, and troubleshoot Simple Voice Chat on your CraftLands server—supports both plugin and modded setups.
## Simple Voice Chat Setup
This guide covers the installation and configuration of **Simple Voice Chat** for both plugin and modded servers. Select your server type below to get started:
Click here to set up Simple Voice Chat on a server with plugins.
Click here to set up Simple Voice Chat on a modded server.
***
### Plugin Setup
> **Info:** Ensure your server is running Spigot, Paper, or a compatible plugin loader.
1. **Access Your Panel:**
* Go to [CraftLands Hosting Panel](https://panel.craftlands.host/).
* Log in to your account.
* Select the server where you want to install the plugin.
2. **Stop the Server:**
* Stop your server from the panel to prepare it for modifications.
3. **Install the Plugin:**
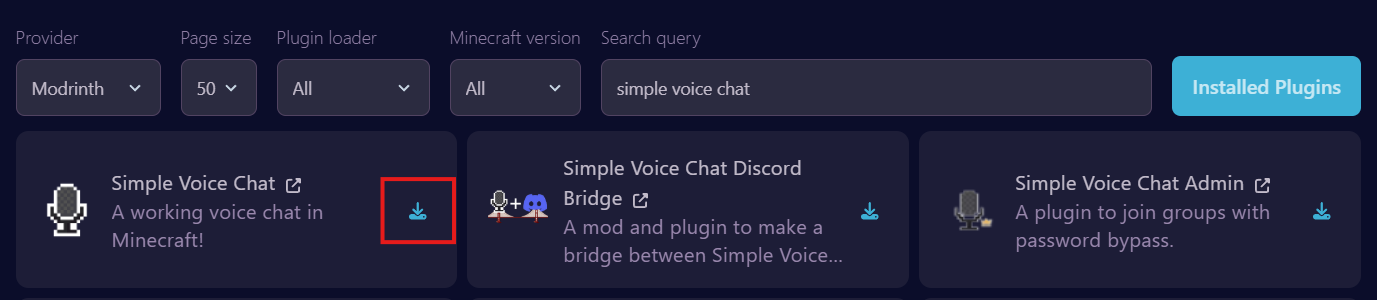
* Navigate to the **Plugins** section in the panel.
 * Search for **Simple Voice Chat**.
 * Click **Download** to install it.
 4. **Start the Server:**
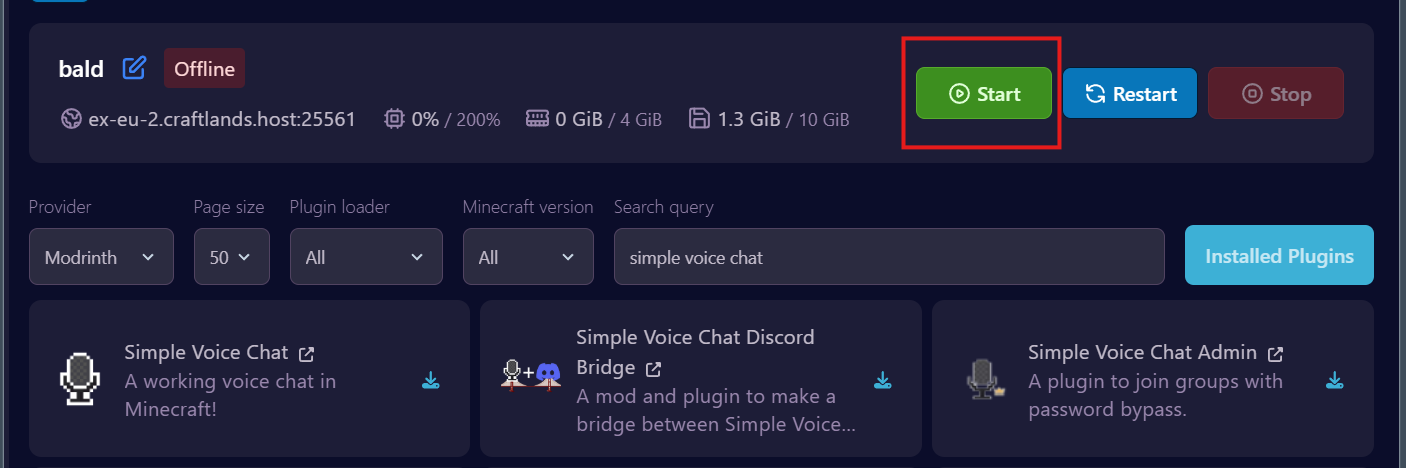
* Start the server to generate the plugin's configuration files.
4. **Start the Server:**
* Start the server to generate the plugin's configuration files.
 5. **Configure the Port:**
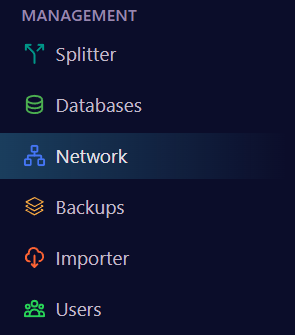
* Go to the **Network** section in the panel.
5. **Configure the Port:**
* Go to the **Network** section in the panel.
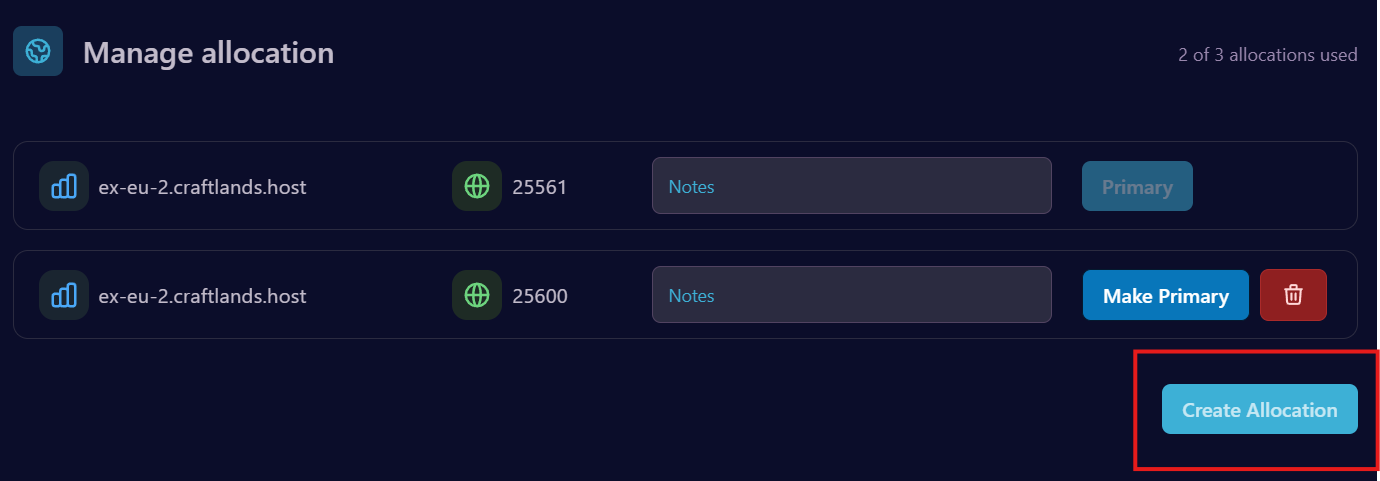
 * Click **Create Allocation** to generate a new port and copy it.
 6. **Edit the Plugin Configuration:**
* Navigate to the **Files** section.
6. **Edit the Plugin Configuration:**
* Navigate to the **Files** section.
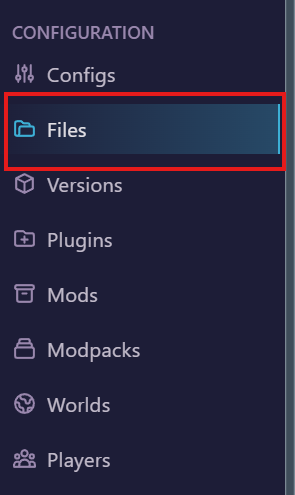 * Open the **plugins** folder.
 * Locate and open the **voice chat** folder.
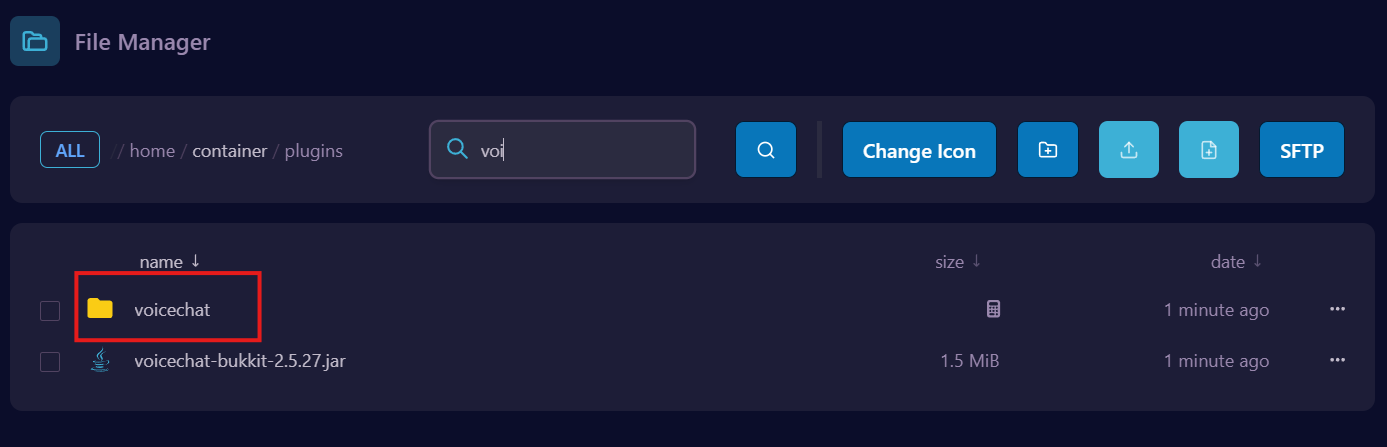 * Find the `voicechat.properties` file and open it.
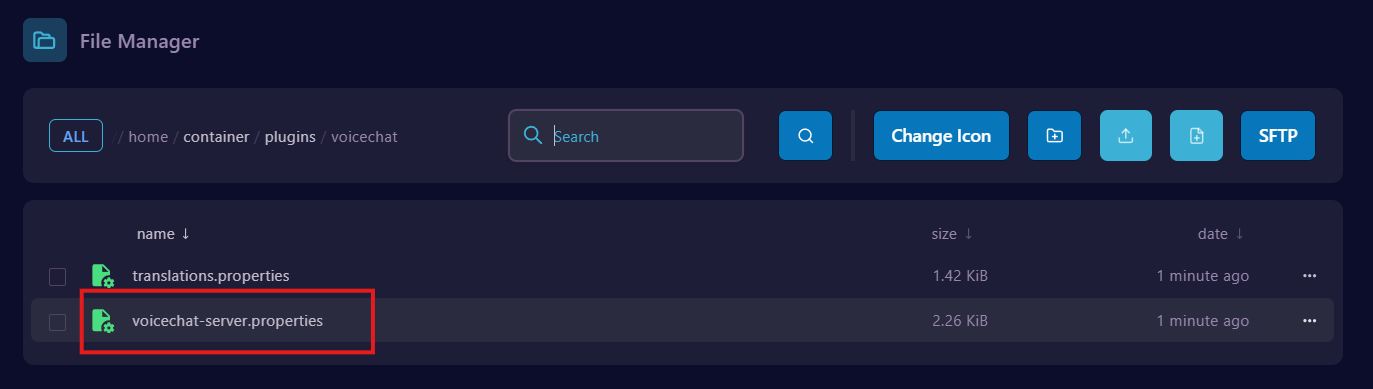 * Update the `port` in the configuration file with the new port created in the network section.
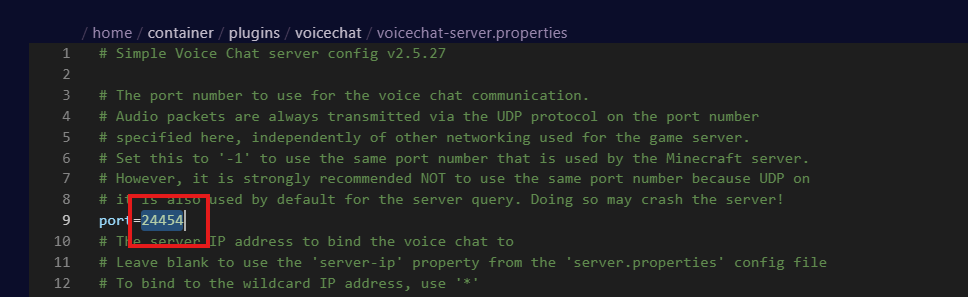 * Save the changes.
7. **Restart the Server:**
* Restart the server to apply the configuration.
8. **You’re All Set:**
* The Simple Voice Chat plugin is now installed and configured.
***
### Mod Setup
> **Info:** Ensure your server is running Forge or Fabric with the correct version for Simple Voice Chat.
1. **Access Your Panel:**
* Go to [CraftLands Hosting Panel](https://panel.craftlands.host/).
* Log in to your account.
* Select the modded server where you want to install the mod.
2. **Stop the Server:**
* Stop your server from the panel to prepare it for modifications.
3. **Install the Mod:**
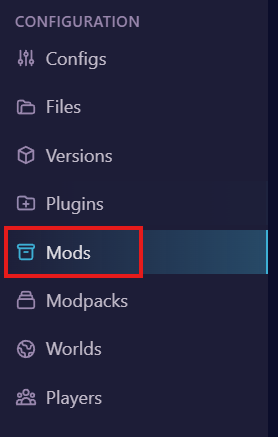
* Navigate to the **Mods** section in the panel.
* Save the changes.
7. **Restart the Server:**
* Restart the server to apply the configuration.
8. **You’re All Set:**
* The Simple Voice Chat plugin is now installed and configured.
***
### Mod Setup
> **Info:** Ensure your server is running Forge or Fabric with the correct version for Simple Voice Chat.
1. **Access Your Panel:**
* Go to [CraftLands Hosting Panel](https://panel.craftlands.host/).
* Log in to your account.
* Select the modded server where you want to install the mod.
2. **Stop the Server:**
* Stop your server from the panel to prepare it for modifications.
3. **Install the Mod:**
* Navigate to the **Mods** section in the panel.
 * Search for **Simple Voice Chat**.
 * Click **Download** to install it.
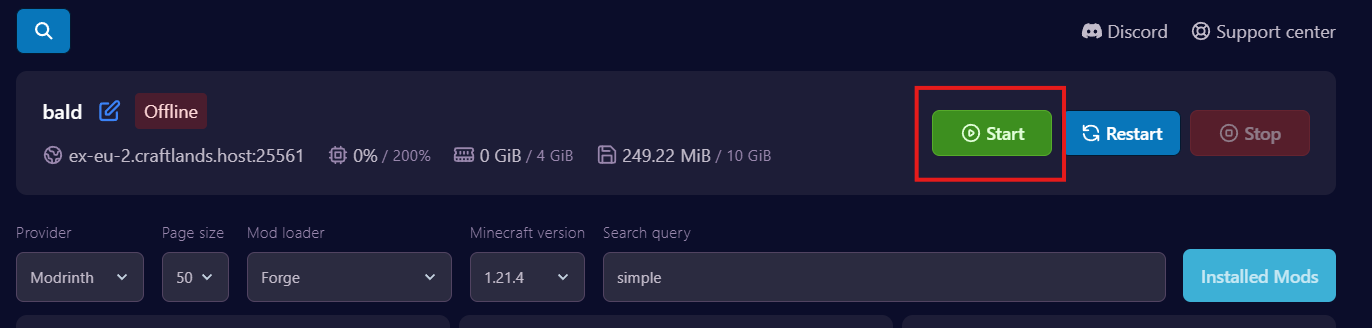
 4. **Start the Server:**
* Start the server to generate the mod’s configuration files.
4. **Start the Server:**
* Start the server to generate the mod’s configuration files.
 5. **Configure the Port:**
* Go to the **Network** section in the panel.
*
* Click **Create Allocation** to generate a new port.
*
6. **Edit the Mod Configuration:**
* Navigate to the **Files** section.
*
* Open the **config** folder.
5. **Configure the Port:**
* Go to the **Network** section in the panel.
*
* Click **Create Allocation** to generate a new port.
*
6. **Edit the Mod Configuration:**
* Navigate to the **Files** section.
*
* Open the **config** folder.
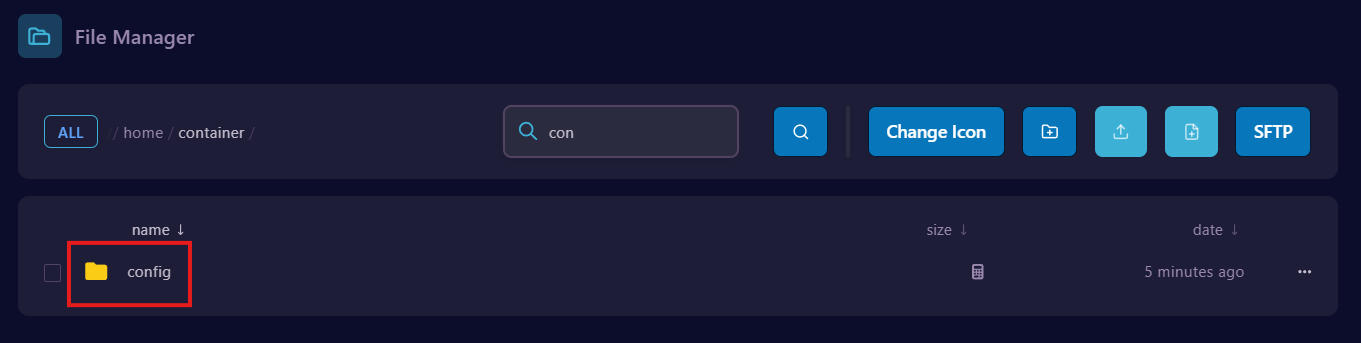 * Locate and open the **voice chat** folder.
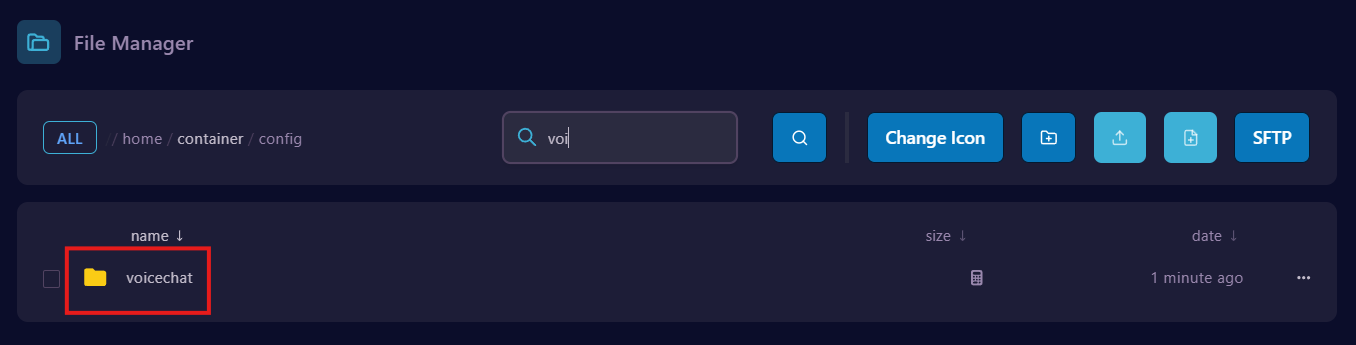 * Find the `voicechat.properties` file and open it.
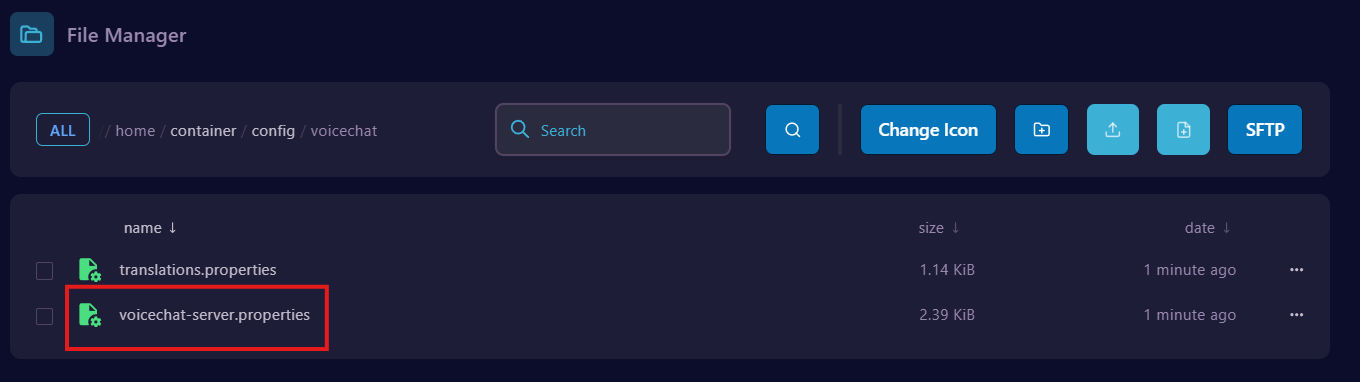 * Update the `port` in the configuration file with the new port created in the network section.
*
* Save the changes.
7. **Restart the Server:**
* Restart the server to apply the configuration.
8. **You’re All Set:**
* The Simple Voice Chat mod is now installed and configured.
***
Feel free to reach out to our [support team](https://discord.com/invite/craftlandshost) if you encounter any issues during the setup process.
* Update the `port` in the configuration file with the new port created in the network section.
*
* Save the changes.
7. **Restart the Server:**
* Restart the server to apply the configuration.
8. **You’re All Set:**
* The Simple Voice Chat mod is now installed and configured.
***
Feel free to reach out to our [support team](https://discord.com/invite/craftlandshost) if you encounter any issues during the setup process.